SAP BTP XSUAA — OAuth2 토큰 인증과 역할 컬렉션 설정 완전 가이드
SAP BTP XSUAA — OAuth2 토큰 인증과 역할 컬렉션 설정 완전 가이드
1. XSUAA란? -- BTP의 OAuth2 인증 서버
SAP BTP에서 애플리케이션 보안의 핵심은 XSUAA(Extended Services for UAA)입니다. XSUAA는 Cloud Foundry의 UAA(User Account and Authentication)를 SAP이 확장한 OAuth2 인증 서버로, BTP 위에서 동작하는 모든 애플리케이션의 인증(Authentication)과 인가(Authorization)를 담당합니다.
이 글을 완료하면 다음을 수행할 수 있습니다.
- xs-security.json의 scopes, role-templates, role-collections 구조를 설계할 수 있다
- CF CLI로 XSUAA 서비스 인스턴스를 생성하고 애플리케이션에 바인딩할 수 있다
- OAuth2 Grant Type별 차이를 이해하고 시나리오에 맞는 방식을 선택할 수 있다
- Spring Boot와 CAP(Node.js) 애플리케이션에서 JWT 토큰 검증을 구현할 수 있다
- 역할 컬렉션을 생성하고 사용자에게 할당하여 세분화된 권한 제어를 적용할 수 있다
선수 지식
- SAP BTP Trial 또는 Enterprise 계정 보유
- Cloud Foundry 기본 개념 (org, space, service binding)
- OAuth2 프로토콜의 기초 이해 (access token, refresh token)
- Java(Spring Boot) 또는 Node.js 중 하나의 개발 경험
환경 및 준비물
| 항목 | 버전 / 사양 |
|---|---|
| SAP BTP | Cloud Foundry Environment (2026년 기준 최신) |
| CF CLI | v8 이상 |
| BTP CLI | v2.x 이상 (역할 컬렉션 할당 시 사용) |
| SAP Cloud Security BOM | com.sap.cloud.security:java-bom:4.0.4 |
| Java | 11 이상 (HttpClient 기본 사용, 4.0.1+ 기준) |
| Node.js (CAP) | @sap/cds 8.x, @sap/xssec 4.x |
| Spring Boot | 3.x / 4.x |
CF CLI가 설치되어 있고 cf login으로 BTP 서브어카운트에 접속된 상태를 전제합니다.
2. xs-security.json 핵심 구조
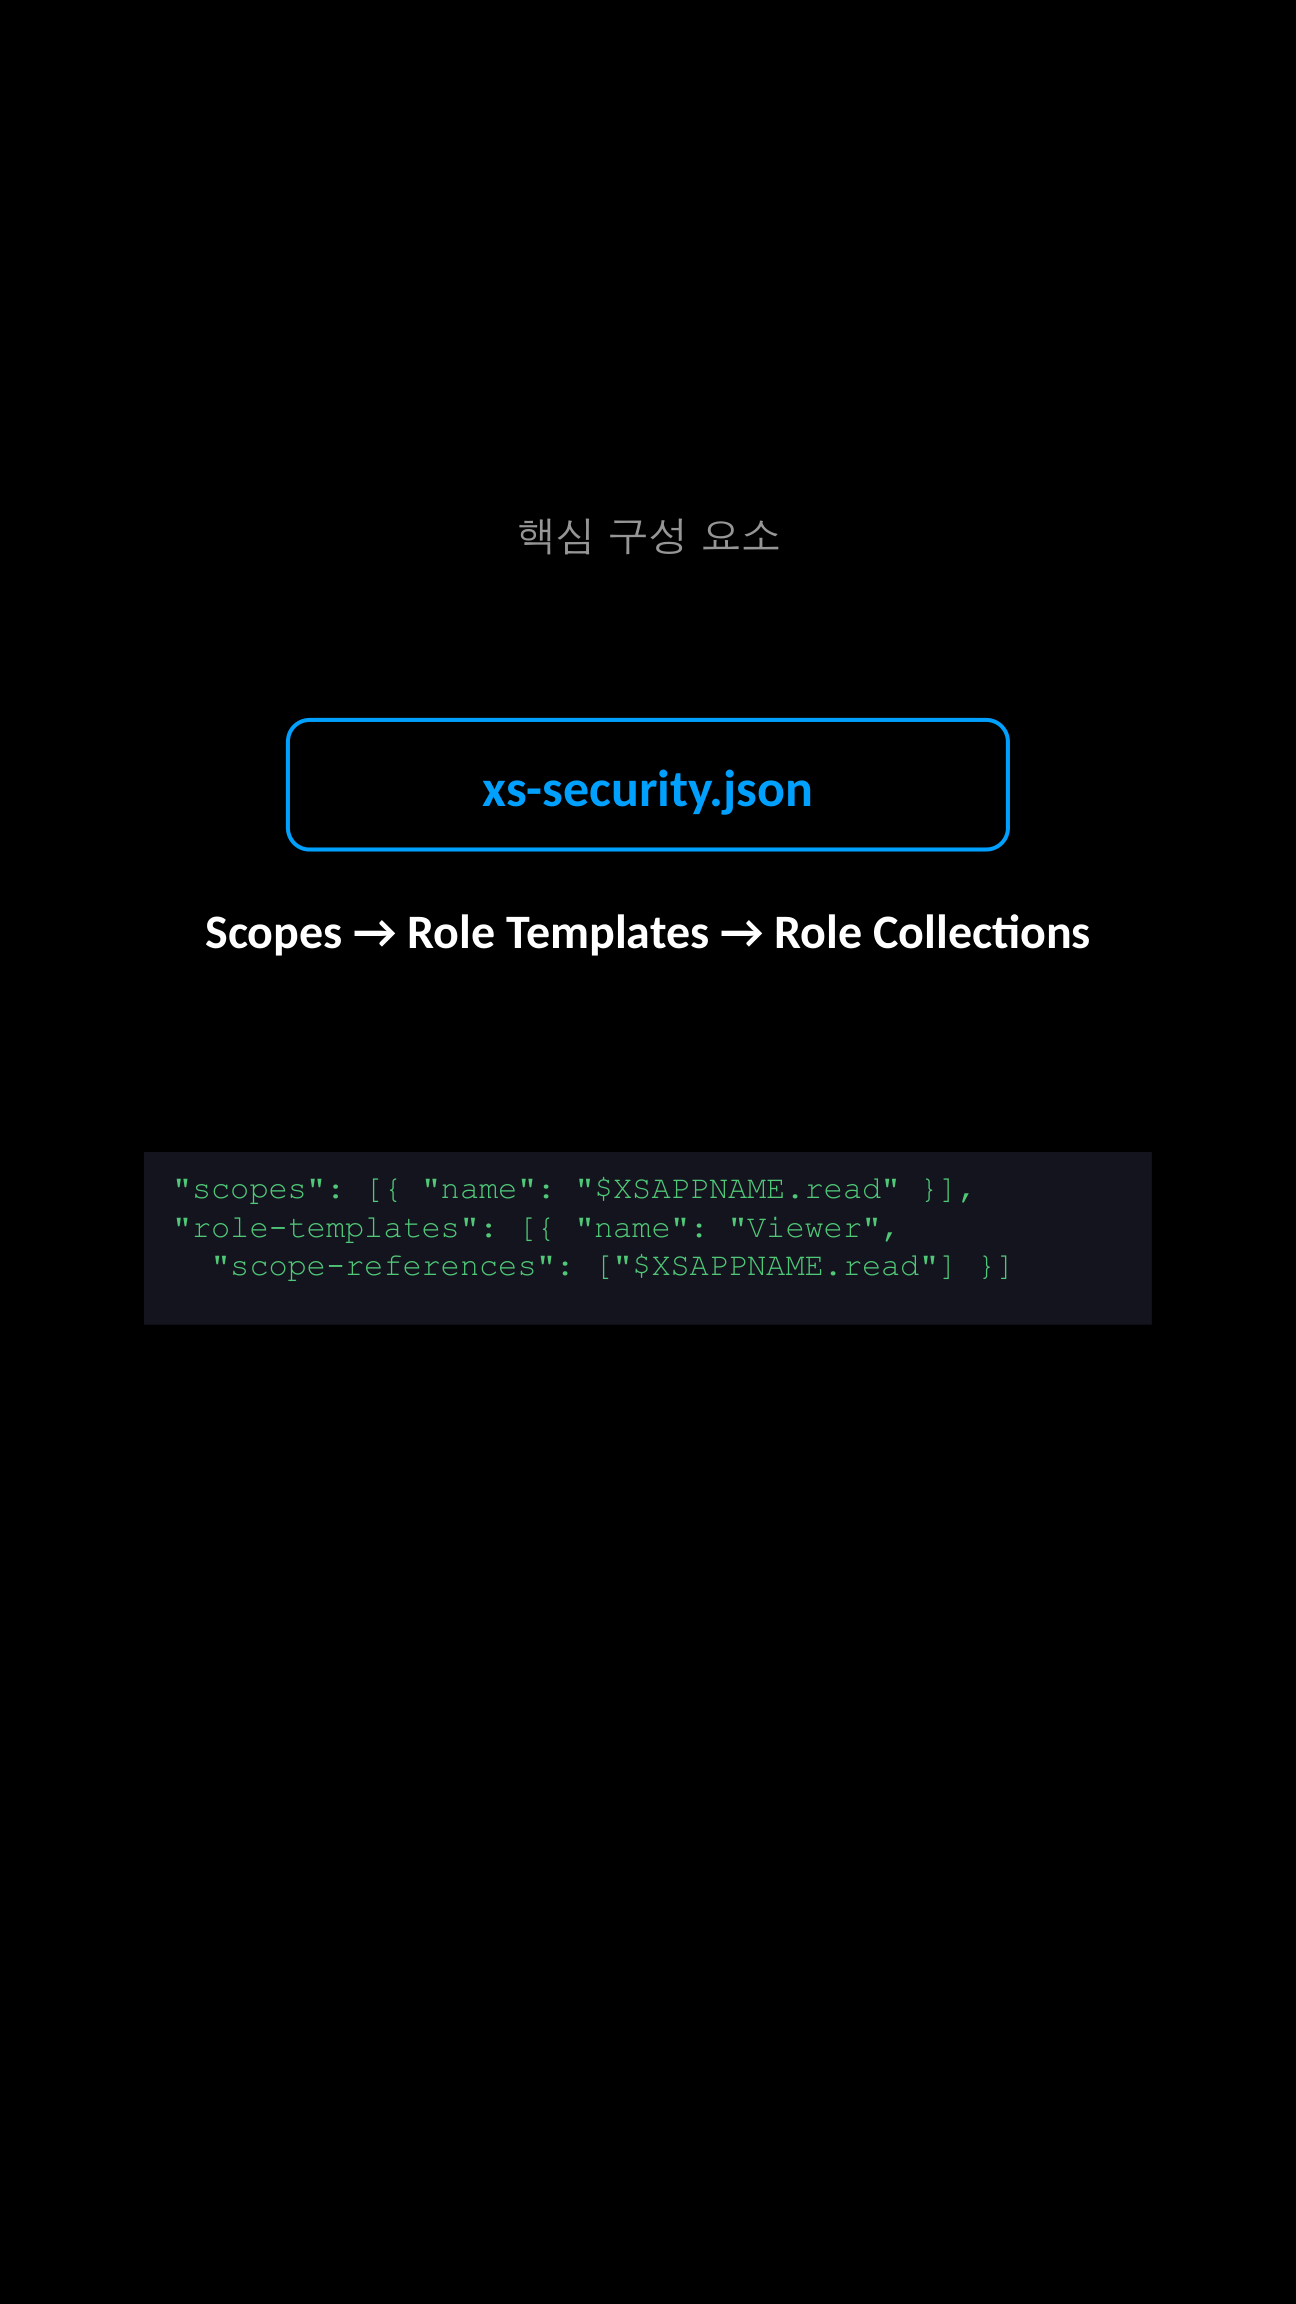
XSUAA의 권한 모델은 세 가지 계층으로 구성됩니다. 이를 건물 보안에 비유하면 이해하기 쉽습니다.
- Scopes (열쇠) -- 개별 행동 권한입니다. "읽기", "쓰기"처럼 가장 작은 단위의 권한을 정의합니다.
- Role Templates (열쇠꾸러미) -- 여러 Scope를 묶은 역할 틀입니다. "관람자"에게는 읽기 열쇠만, "관리자"에게는 읽기+쓰기 열쇠를 묶어 줍니다.
- Role Collections (출입증) -- Role Template을 실제 사용자에게 배포하는 단위입니다. BTP Cockpit에서 사용자에게 직접 할당하는 것이 바로 이 Role Collection입니다.
흐름을 도식화하면 다음과 같습니다.
Scope (read, write)
    |
    v
Role Template (Viewer = [read], Editor = [read, write])
    |
    v
Role Collection (App Viewer = [Viewer], App Admin = [Editor])
    |
    v
User / IDP Group 에 할당
다음은 실무에서 일반적으로 사용하는 xs-security.json의 전체 구조입니다.
{
  "xsappname": "my-app",
  "tenant-mode": "dedicated",
  "scopes": [
    { "name": "$XSAPPNAME.read", "description": "Read access" },
    { "name": "$XSAPPNAME.write", "description": "Write access" }
  ],
  "role-templates": [
    {
      "name": "Viewer",
      "description": "View data",
      "scope-references": ["$XSAPPNAME.read"]
    },
    {
      "name": "Editor",
      "description": "Edit data",
      "scope-references": ["$XSAPPNAME.read", "$XSAPPNAME.write"]
    }
  ],
  "role-collections": [
    {
      "name": "App Viewer",
      "description": "Read-only user",
      "role-template-references": ["$XSAPPNAME.Viewer"]
    },
    {
      "name": "App Admin",
      "description": "Full access user",
      "role-template-references": ["$XSAPPNAME.Editor"]
    }
  ]
}
핵심 포인트를 짚어보겠습니다.
$XSAPPNAME은 XSUAA가 런타임에 자동 치환하는 변수입니다. 실제로는my-app!t1234처럼 tenant suffix가 붙습니다.tenant-mode는dedicated(단일 테넌트) 또는shared(멀티테넌트)를 지정합니다. SaaS 앱이 아니라면dedicated가 일반적입니다.role-collections섹션은 선택사항이며, Cockpit에서 수동 생성도 가능합니다. 다만 xs-security.json에 선언하면 서비스 생성 시 자동으로 만들어져 편리합니다.
3. XSUAA 서비스 인스턴스 생성 (CF CLI)
1단계: 기본 서비스 인스턴스 생성
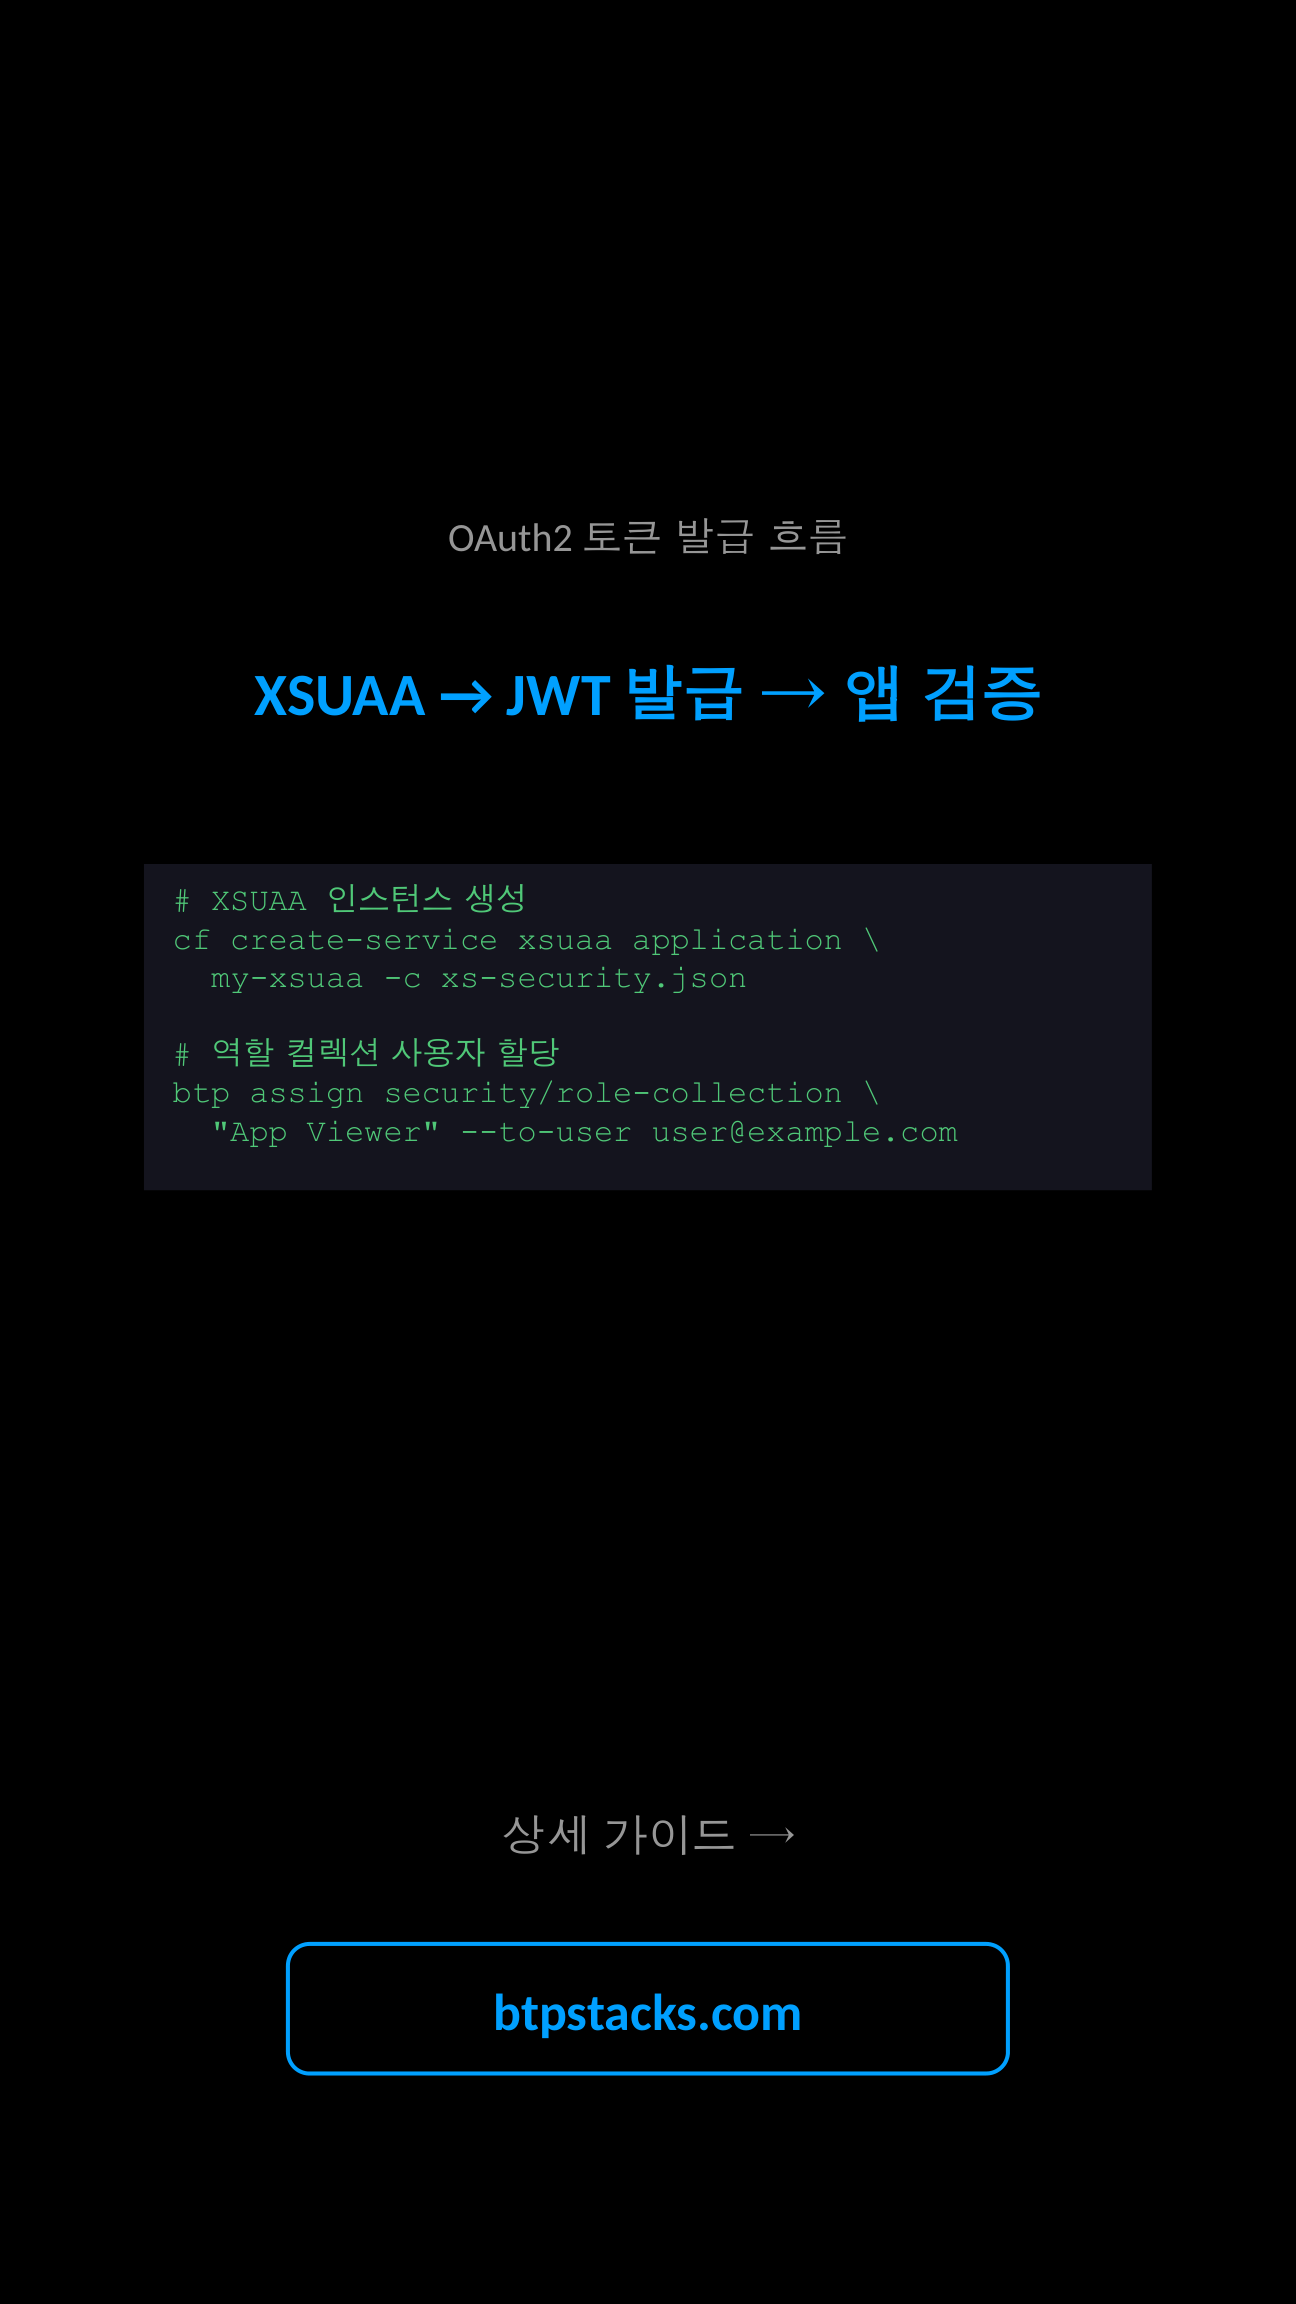
xs-security.json 파일을 준비했다면 CF CLI 한 줄로 XSUAA 인스턴스를 생성할 수 있습니다.
# XSUAA 서비스 인스턴스 생성
cf create-service xsuaa application my-app-xsuaa -c xs-security.json

# 생성 확인
cf services | grep xsuaa

# 애플리케이션에 바인딩
cf bind-service my-app my-app-xsuaa

# 변경사항 반영을 위해 restage
cf restage my-app
서비스 플랜은 용도에 따라 다릅니다.
application-- 일반 애플리케이션 인증/인가에 사용 (가장 일반적)broker-- 멀티테넌트 SaaS 앱에서 tenant별 XSUAA가 필요할 때apiaccess-- XSUAA REST API를 직접 호출해야 할 때
2단계: 서비스 키 생성 및 자격증명 확인
로컬 개발이나 외부 시스템 연동 시 서비스 키가 필요합니다.
# 서비스 키 생성
cf create-service-key my-app-xsuaa my-app-sk

# 자격증명 확인
cf service-key my-app-xsuaa my-app-sk
출력되는 JSON에는 clientid, clientsecret, url, uaadomain 등이 포함됩니다. 이 값들은 바인딩된 앱에서는 VCAP_SERVICES 환경변수를 통해 자동으로 주입됩니다.
{
  "xsuaa": [{
    "credentials": {
      "clientid": "sb-my-app!t1234",
      "clientsecret": "...",
      "url": "https://<subdomain>.authentication.sap.hana.ondemand.com",
      "uaadomain": "authentication.sap.hana.ondemand.com",
      "xsappname": "my-app!t1234",
      "identityzone": "<subdomain>"
    }
  }]
}
4. OAuth2 Grant Type 비교
XSUAA는 여러 OAuth2 Grant Type을 지원합니다. 시나리오에 따라 적절한 방식을 선택해야 합니다.
| Grant Type | 사용자 컨텍스트 | 대표 시나리오 | 권장 여부 |
|---|---|---|---|
| Authorization Code | 있음 | 웹 애플리케이션 로그인 (AppRouter 경유) | 권장 |
| Client Credentials | 없음 | 서비스 간 통신, 백그라운드 작업 | 권장 |
| Password Grant | 있음 | 테스트, 레거시 시스템 연동 | 테스트 전용 |
| Refresh Token | 있음 | 만료된 access token 갱신 | 보조적 사용 |
| JWT Bearer (Token Exchange) | 있음 | IAS와 XSUAA 간 토큰 교환 | 하이브리드 환경 |
Authorization Code 흐름이 가장 일반적입니다. 사용자가 브라우저에서 로그인하면 XSUAA가 authorization code를 발급하고, 이를 access token으로 교환합니다. BTP에서는 AppRouter가 이 흐름을 자동으로 처리합니다.
Client Credentials는 사용자가 없는 서비스 간 통신에 사용합니다. clientid와 clientsecret만으로 토큰을 발급받으며, 사용자 스코프가 아닌 서비스 스코프만 포함됩니다.
Password Grant는 HTTP Basic Auth 자격증명을 가로채어 XSUAA로 토큰을 요청하는 방식입니다. 소스에 따르면, TokenBrokerResolver가 Basic Auth를 인터셉트한 후 XsuaaTokenFlows를 통해 OAuth2 액세스 토큰을 요청하고, JWT 기반 보안 검증을 처리합니다. 프로덕션보다는 테스트 용도로 권장됩니다.
JWT Bearer(Token Exchange)는 SAP Cloud Identity Services(IAS)와 XSUAA를 함께 사용하는 하이브리드 환경에서 필요합니다. TokenExchangeMode를 통해 DISABLED, PROVIDE_XSUAA, FORCE_XSUAA 중 하나를 선택하여 IAS 토큰을 XSUAA 토큰으로 교환할 수 있습니다.
5. 역할 컬렉션 생성 및 사용자 할당
BTP Cockpit에서 설정
- BTP Cockpit에 로그인합니다.
- Security > Role Collections으로 이동합니다.
- "+" 버튼을 클릭하여 새 Role Collection을 생성합니다.
- 생성된 Role Collection을 열고 "Edit"를 클릭합니다.
- "Roles" 탭에서 XSUAA 인스턴스의 Role Template을 검색하여 추가합니다.
- "Users" 탭에서 사용자 이메일과 Identity Provider를 지정하여 할당합니다.
BTP CLI로 할당
자동화가 필요하다면 BTP CLI를 사용합니다.
# 역할 컬렉션을 특정 사용자에게 할당
btp assign security/role-collection "App Viewer" \
  --subaccount <subaccount-id> \
  --to-user user@example.com

# 할당 확인
btp list security/role-collection --subaccount <subaccount-id>

# IDP 그룹 기반 할당 (SAML/OIDC IdP 사용 시)
btp assign security/role-collection "App Admin" \
  --subaccount <subaccount-id> \
  --to-group "ADMIN_GROUP" \
  --of-idp <idp-origin-key>
IDP 그룹 기반 할당을 사용하면 사용자 온보딩/오프보딩 시 개별 할당 없이 그룹 멤버십만으로 권한을 관리할 수 있어 프로덕션 환경에서 권장됩니다.
6. Spring Boot 애플리케이션에서 토큰 검증
SAP Cloud Security 라이브러리를 사용하면 Spring Boot에서 XSUAA 토큰 검증을 간결하게 구현할 수 있습니다.
Maven 의존성 설정
<dependencyManagement>
  <dependencies>
    <dependency>
      <groupId>com.sap.cloud.security</groupId>
      <artifactId>java-bom</artifactId>
      <version>4.0.4</version>
      <type>pom</type>
      <scope>import</scope>
    </dependency>
  </dependencies>
</dependencyManagement>

<dependencies>
  <!-- Spring Security 연동 -->
  <dependency>
    <groupId>com.sap.cloud.security.xsuaa</groupId>
    <artifactId>xsuaa-spring-boot-starter</artifactId>
  </dependency>
  <!-- 토큰 검증 -->
  <dependency>
    <groupId>com.sap.cloud.security</groupId>
    <artifactId>spring-security</artifactId>
  </dependency>
</dependencies>
Security Configuration
import com.sap.cloud.security.spring.autoconfig.HybridIdentityServicesAutoConfiguration;
import org.springframework.context.annotation.Bean;
import org.springframework.context.annotation.Configuration;
import org.springframework.security.config.annotation.web.builders.HttpSecurity;
import org.springframework.security.config.http.SessionCreationPolicy;
import org.springframework.security.web.SecurityFilterChain;

@Configuration
public class SecurityConfig {

    @Bean
    public SecurityFilterChain filterChain(HttpSecurity http) throws Exception {
        http
            .sessionManagement(sm ->
                sm.sessionCreationPolicy(SessionCreationPolicy.STATELESS))
            .authorizeHttpRequests(auth -> auth
                .requestMatchers("/api/public/**").permitAll()
                .requestMatchers("/api/data/**").hasAuthority("read")
                .requestMatchers("/api/admin/**").hasAuthority("write")
                .anyRequest().authenticated()
            )
            .oauth2ResourceServer(oauth2 ->
                oauth2.jwt(jwt -> {})
            );
        return http.build();
    }
}
Controller에서 토큰 정보 활용
import com.sap.cloud.security.token.Token;
import com.sap.cloud.security.token.TokenClaims;
import org.springframework.security.core.annotation.AuthenticationPrincipal;
import org.springframework.web.bind.annotation.GetMapping;
import org.springframework.web.bind.annotation.RestController;

@RestController
public class DataController {

    @GetMapping("/api/data")
    public String getData(@AuthenticationPrincipal Token token) {
        String user = token.getClaimAsString(TokenClaims.EMAIL);
        // 스코프 확인
        if (token.hasLocalScope("write")) {
            return "Write access granted for: " + user;
        }
        return "Read-only access for: " + user;
    }
}
hasLocalScope() 메서드는 $XSAPPNAME. 접두어를 자동으로 처리하므로 "write"만 전달하면 됩니다.
7. Node.js (CAP) 애플리케이션에서 XSUAA 연동
SAP CAP(Cloud Application Programming Model) 기반 Node.js 프로젝트에서는 @sap/xssec 라이브러리가 XSUAA 토큰 검증을 처리합니다. CAP의 CDS 모델에서 어노테이션 기반으로 권한을 선언적으로 관리할 수 있습니다.
package.json 설정
{
  "dependencies": {
    "@sap/cds": "^8",
    "@sap/xssec": "^4",
    "passport": "^0.7"
  },
  "cds": {
    "requires": {
      "auth": {
        "kind": "xsuaa"
      }
    }
  }
}
CDS 서비스 모델에서 권한 정의
// srv/data-service.cds
using { my.bookshop as db } from '../db/schema';

service CatalogService @(requires: 'authenticated-user') {

  @(restrict: [
    { grant: 'READ', to: 'Viewer' },
    { grant: ['READ', 'WRITE'], to: 'Editor' }
  ])
  entity Books as projection on db.Books;

  // Admin 전용 액션
  @(requires: 'Editor')
  action approveBook(bookId: UUID) returns String;
}
커스텀 핸들러에서 사용자 컨텍스트 활용
// srv/data-service.js
module.exports = function () {

  this.before('READ', 'Books', async (req) => {
    // 인증된 사용자 정보 확인
    const user = req.user;
    console.log('User:', user.id);
    console.log('Scopes:', user.attr);

    // 스코프 확인
    if (!req.user.is('Viewer')) {
      req.reject(403, 'Insufficient permissions');
    }
  });

  this.on('approveBook', async (req) => {
    const { bookId } = req.data;
    // Editor 스코프는 CDS 어노테이션에서 이미 검증됨
    // 비즈니스 로직 수행
    return `Book ${bookId} approved by ${req.user.id}`;
  });
};
CAP 프레임워크에서는 @requires와 @restrict 어노테이션이 xs-security.json의 Role Template 이름과 매핑됩니다. 별도의 미들웨어 설정 없이 선언적으로 권한을 관리할 수 있는 것이 CAP의 강점입니다.
8. 실무 팁 및 자주 하는 실수
FAQ 1: xs-security.json을 수정했는데 반영이 안 됩니다
XSUAA 서비스 인스턴스는 cf update-service로 업데이트해야 합니다. 단순히 앱을 restage하는 것만으로는 xs-security.json 변경이 반영되지 않습니다.
cf update-service my-app-xsuaa -c xs-security.json
cf restage my-app
FAQ 2: "Unauthorized 401" 에러가 계속 발생합니다
- 토큰 만료 확인: JWT 디코더(jwt.io 등)로
exp클레임을 확인하세요. - 역할 컬렉션 할당 확인: BTP Cockpit > Security > Users에서 해당 사용자에게 Role Collection이 할당되어 있는지 확인하세요.
- Identity Provider 불일치: Role Collection 할당 시 Origin Key(IDP)가 실제 로그인하는 IDP와 일치해야 합니다.
- VCAP_SERVICES 확인:
cf env my-app로 xsuaa 바인딩 정보가 올바른지 확인하세요.
FAQ 3: Client Credentials 토큰에 사용자 스코프가 없습니다
이것은 정상 동작입니다. Client Credentials Grant는 사용자 컨텍스트 없이 서비스 자체의 자격증명으로 토큰을 발급받기 때문에, xs-security.json에서 grant-as-authority-to-apps로 명시적으로 부여한 스코프만 포함됩니다. 사용자 스코프가 필요하다면 Authorization Code 또는 Password Grant를 사용하세요.
FAQ 4: IAS와 XSUAA를 함께 쓰고 싶습니다
SAP Cloud Identity Services(IAS)를 주 인증으로 사용하면서 XSUAA의 인가 기능을 유지하려면 TokenExchangeMode를 활용합니다. 옵션은 DISABLED(교환 안 함), PROVIDE_XSUAA(가능하면 교환), FORCE_XSUAA(반드시 교환) 세 가지이며, 또한 xsuaa-cross-consumption: true 파라미터로 IAS와 XSUAA 간 교차 소비를 활성화할 수 있습니다.
프로덕션 체크리스트
- Password Grant 사용 금지: 프로덕션에서는 Authorization Code 또는 Client Credentials만 사용하세요.
- clientsecret 관리: 소스 코드나 환경변수에 하드코딩하지 마세요. VCAP_SERVICES 바인딩을 통해 자동 주입받는 것이 일반적입니다.
- IDP 그룹 기반 할당: 개별 사용자 할당 대신 IDP 그룹 매핑을 통해 Role Collection을 관리하면 운영 부담을 크게 줄일 수 있습니다.
- 토큰 캐싱: Client Credentials 토큰은 캐싱하여 불필요한 토큰 요청을 줄이세요. SAP Cloud Security 라이브러리는 기본적으로 토큰 캐싱을 지원합니다.
- xsappname 충돌 방지: xsappname은 서브어카운트 내에서 고유해야 합니다. 프로젝트 이름에 팀/프로젝트 접두어를 붙이는 것을 권장합니다.
다음 단계 / 관련 주제
- SAP Cloud Identity Services(IAS) 연동: XSUAA를 IAS와 통합하여 기업 SSO를 구현하는 단계입니다.
- AppRouter 설정: Authorization Code 흐름을 자동 처리하는 AppRouter의 xs-app.json 설정을 학습하세요.
- 멀티테넌트 SaaS 앱: tenant-mode를 shared로 변경하고 SaaS Provisioning Service와 연동하는 고급 시나리오입니다.
- 서비스 간 토큰 전파: Destination Service와 함께 토큰을 전파하여 여러 마이크로서비스를 체이닝하는 패턴을 살펴보세요.
참고 자료
- SAP Help - Authorization and Trust Management Service (XSUAA) 공식 문서
- SAP Help - xs-security.json 구성 문법 (Application Security Descriptor)
- SAP Help - 역할 컬렉션 관리 (Maintain Role Collections)
- GitHub - SAP Cloud Security XSUAA Integration Library (Java/Spring)
- CAP Documentation - XSUAA Authentication Guide
- SAP Help - IAS와 XSUAA 간 Trust Federation 설정
⚠️ 비공식 콘텐츠 안내
본 게시글은 btpstacks.com의 독립 학습 콘텐츠이며 SAP SE와 무관합니다. 공식 문서는 help.sap.com을 참고하세요.
SAP, ABAP, SAP BTP, SAPUI5, SAP Fiori는 독일 및 기타 국가에서 SAP SE의 상표 또는 등록상표입니다.
댓글 0
아직 댓글이 없습니다.